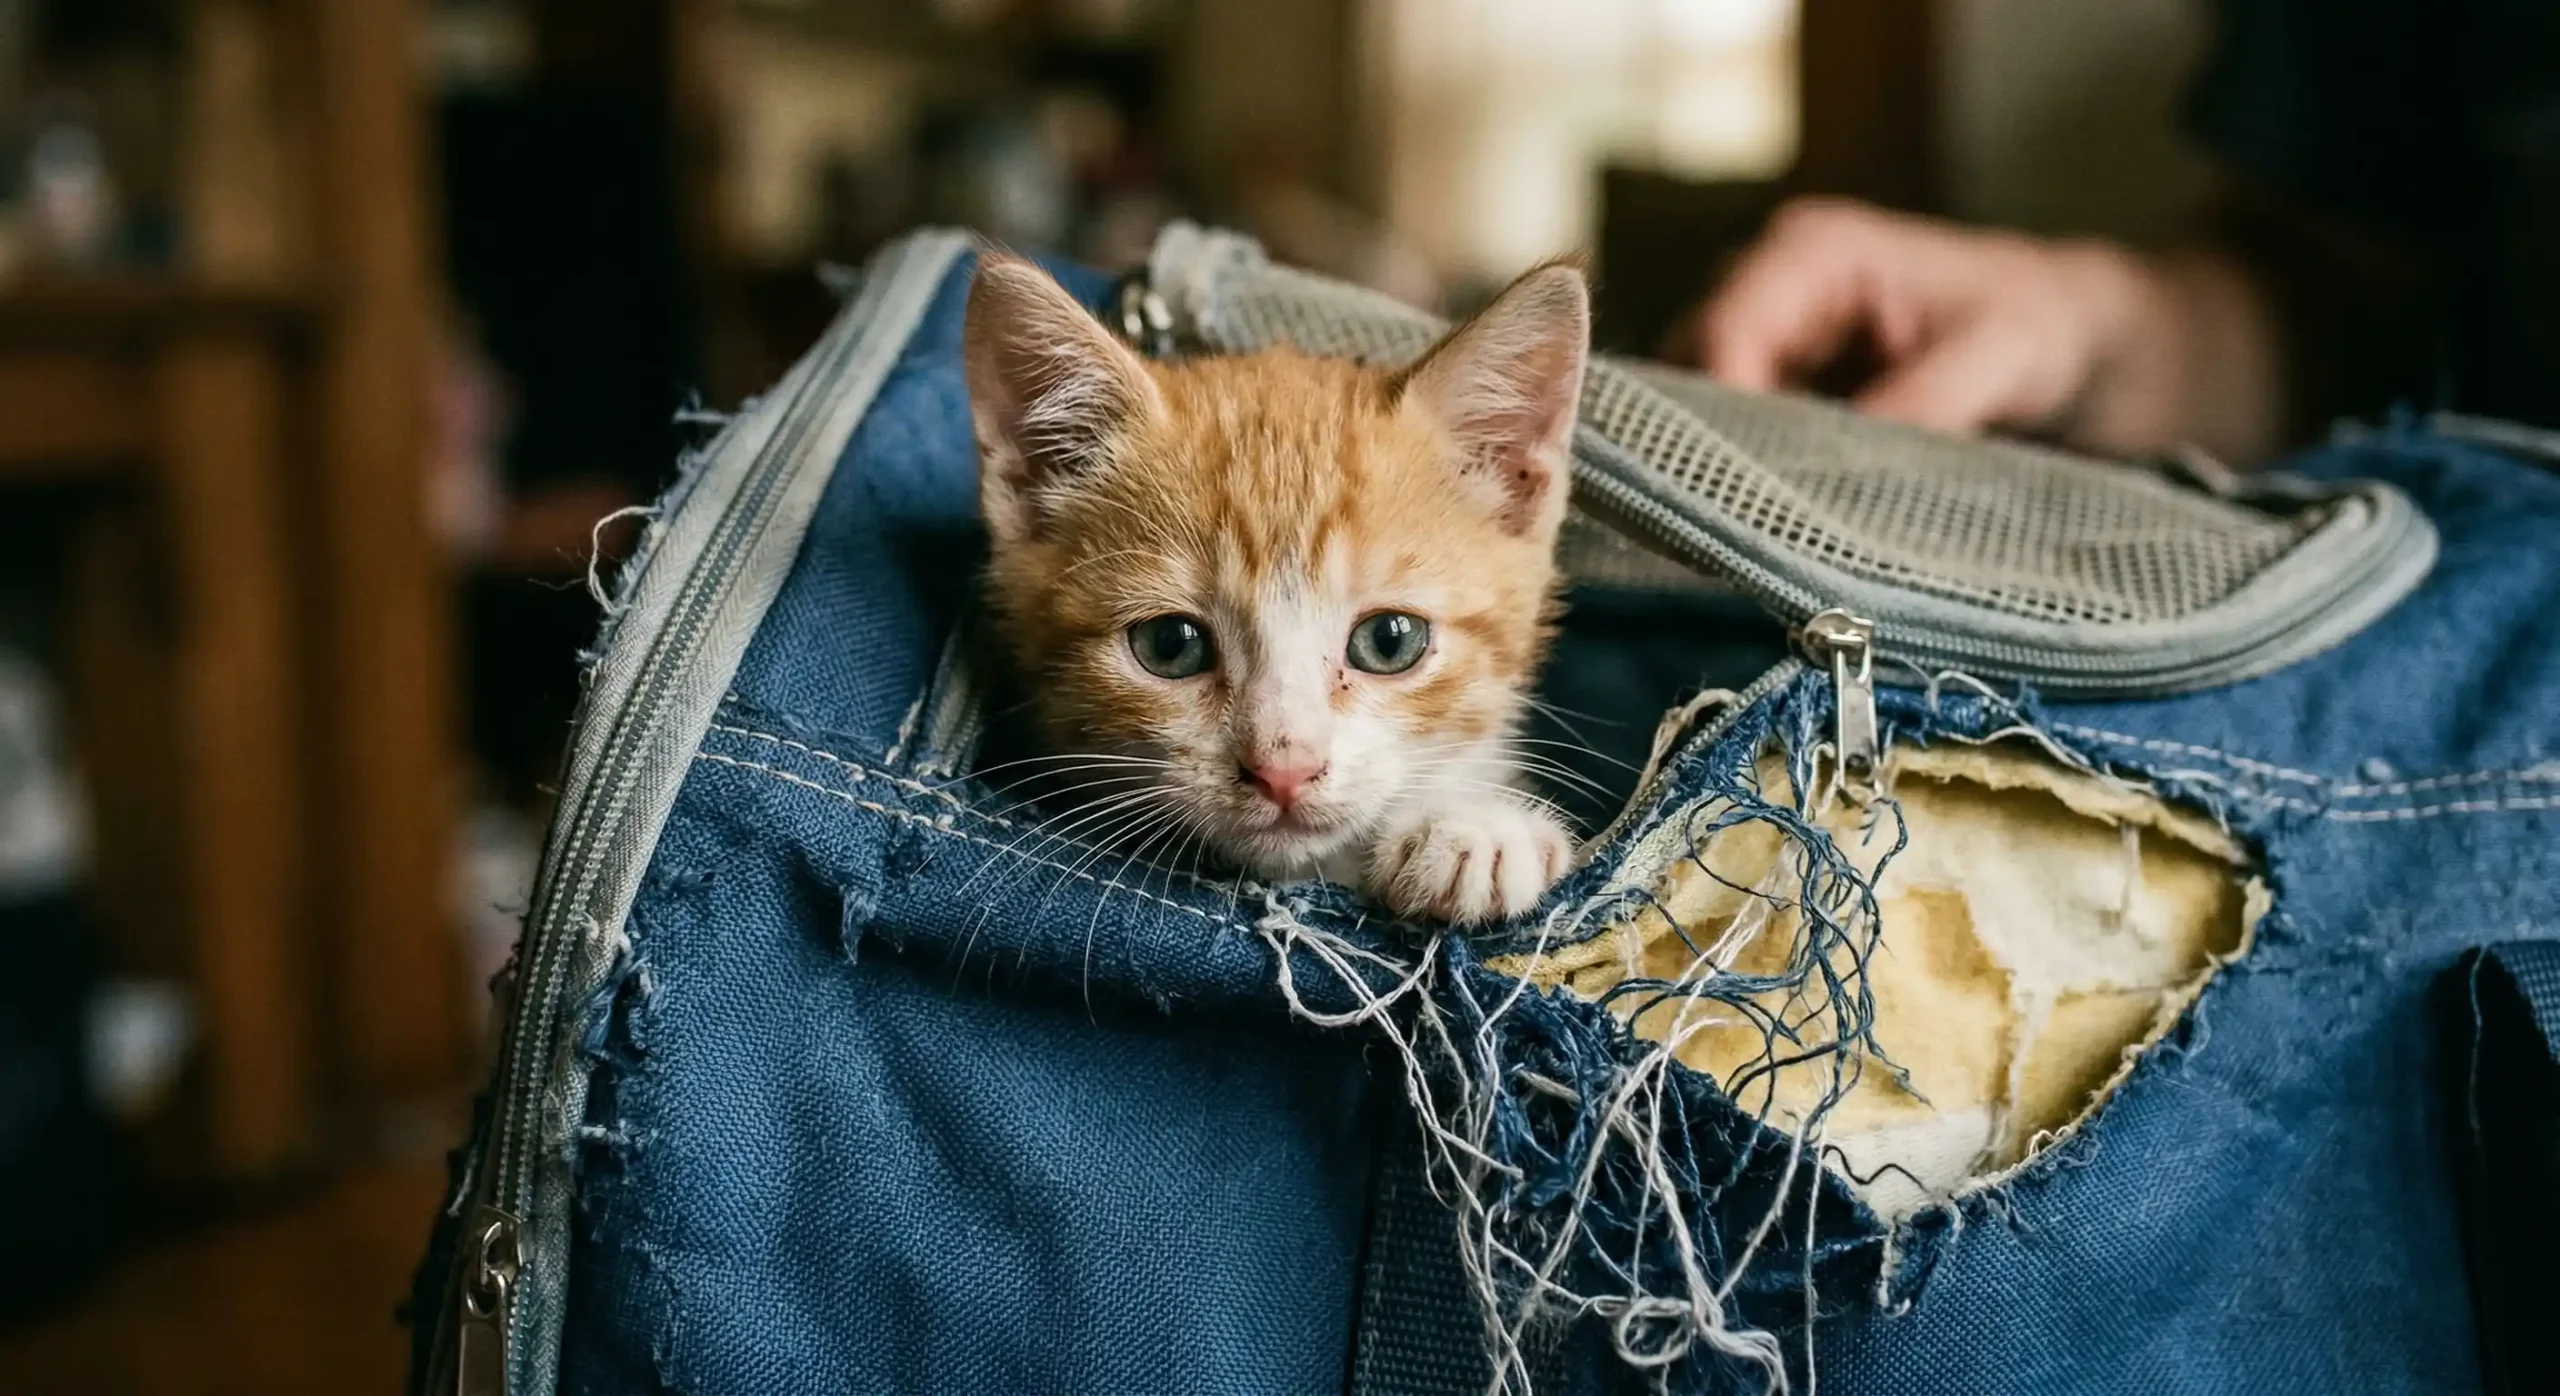
In the corner of my balcony sit three carriers. They aren’t backups—they’re the “stupidity taxes” I’ve paid.
The first one had so many loose threads I could have knitted a sweater. The second one’s hardware rusted within a week. The third one’s shoulder strap snapped after a month of use, nearly sending my dog Tudo crashing to the ground. Each of these carriers cost less than a hundred bucks. When I bought them, I thought, “Cheap will do.” But when I used them, I realized—cheap doesn’t mean “saving money”; it means “buying trouble.”
Later, while reading negative reviews, I came across one that described me perfectly:
“Loose threads, very plastic-y fabric.”
“Feels cheap.”
“Feels cheap”—that phrase translates to: nothing about it is acceptable.
Table of Contents
The Three Worst Carriers I’ve Bought: Loose Threads, Rust, Snap
Data-Backed: Frequency of “Poor Workmanship” Keywords
Sewing Techniques Compared: Single-Stitch, Double-Stitch, and Overlock
Hardware Materials: Cheap Iron Buckles, Quality Alloy Buckles, and Nylon Buckles
Strap Attachment Points: The Most Overlooked Load-Bearing Area
Receiving Inspection Checklist: 6 Steps to Weed Out Cheap Carriers
Frequently Asked Questions
Conclusion: Cheap Is the Most Expensive Tuition
The Three Worst Carriers I’ve Bought: Loose Threads, Rust, Snap
Stupidity Tax 1: The Loose Thread Carrier
This was the first pet carrier I ever bought. It cost a few dozen bucks and looked decent in the photos. When it arrived, I eagerly flipped through the lining—and found loose threads everywhere: around the zipper, at the mesh seams, at the strap attachment points. The longest one dangled from the lining like an unclipped tag. I counted at least seven or eight just around the zipper. I thought, “I’ll just trim them.” I grabbed a small pair of scissors and snipped them all off. A month later, the stitching around the zipper started unraveling, one thread at a time. First, the spots where I’d trimmed became fuzzy, then the whole thread loosened, and eventually the zipper hung limply from the carrier, the slider misaligned with the teeth. The day I took my cat Yuanbao out, I couldn’t get the zipper to close no matter how hard I tried. I squatted by the roadside for ten minutes, finally pinching the zipper ends together with my fingers to barely secure it.
Stupidity Tax 2: The Rust Buckle Carrier
I bought this one for its “looks.” The hardware was shiny silver and seemed high-end. Within a week of use, small rust spots started appearing on the surface of the buckles. I didn’t think much of it—figured it was just from moisture and would wipe off. A few days later, the rust had spread, making the surface rough and sharp. Every time I opened the buckle, rust powder rubbed off on my fingers. The most embarrassing moment came at the vet clinic entrance. The buckle had seized up completely. Tudo needed his vaccine that day. I arrived at the clinic, carrier in hand, and couldn’t get the buckle open no matter what. Tudo paced restlessly inside while I sweated outside. In the end, I had to borrow a car key from someone nearby to pry it open. I never used that carrier again.
Stupidity Tax 3: The Broken Strap Carrier
This one was the scariest. I was walking down the street with the carrier on my shoulder, Tudo inside weighing about 11 or 12 pounds. Halfway there, I heard a snap—the shoulder strap had broken clean off at the attachment point. The carrier slid off my shoulder and hit the ground. I looked down: the stitching connecting the strap to the carrier body had completely given way, only a few threads still holding on like a torn ligament. Luckily, the carrier wasn’t high off the ground, and Tudo wasn’t hurt. But my back went cold with sweat. What if I had been walking along a busy street? What if Tudo had panicked and bolted when the carrier hit the ground? I didn’t want to think about it.
These three carriers had one thing in common: they were cheap. But their shared outcome wasn’t that they “wore out”—it was that I “didn’t dare use them anymore.”
Data-Backed: Frequency of “Poor Workmanship” Keywords
Among the negative reviews I went through, quite a few specifically complained about workmanship and quality. I found that people’s experiences were strikingly similar to mine—loose threads, rust, and snaps were practically the “standard three-piece set” for cheap carriers.
Someone else had been plagued by loose threads like I was:
“Loose threads everywhere. I spent 20 minutes just cutting them off.”
Someone else had been burned by rust like I was:
“The metal parts rusted after one week. The clasp got stuck and I couldn’t open it.”
Someone else had experienced the shock of a snap like I did:
“The strap broke while I was walking. My dog fell to the ground. Never using this again.”
One review summed it up particularly well:
“Poor quality overall.”
“Poor quality overall”—from threads to hardware, from stitching to fabric, nothing about it was acceptable.
Sewing Techniques Compared: Single-Stitch, Double-Stitch, and Overlock
Sewing is the foundation of any carrier. After my loose thread experience, I started paying close attention to the stitching on different carriers. Later, I took apart a worn-out cheap carrier and a good carrier I’d used for a long time to compare the seams. That’s when I understood the real difference.
Single-Stitch (Standard on Cheap Carriers)
Only one line of stitching, with sparse spacing. When I took apart that loose thread carrier, I found the stitching at the strap attachment had gaps of up to 3-4mm between stitches. A light pull could expose the gaps. This type of stitching is especially prone to snapping under tension. On my carrier, the zipper started unraveling from just one stitch and then gave way completely.
Double-Stitch (Common on Mid-Range Carriers)
Two parallel lines of stitching with much tighter spacing. I later bought a carrier in the $30–40 range. The stitching was noticeably solid—about 2mm between stitches, with a clear gap between the two lines. Once, I accidentally dropped the carrier. When I checked it, the stitching was perfectly intact. The advantage of double-stitching is: even if one line wears through, the other still holds, preventing a sudden snap.
Overlock Reinforced (Standard on High-End Carriers)
An extra overlock stitch is added along the seam edge, encasing the raw edges. A friend of mine has a carrier in the $70–80 range. When I looked inside, every seam was covered with binding tape, with no raw edges visible. She’s been using it for three years, and the seams are still flawless. My cheap carrier, on the other hand, started fraying and unraveling at the edges within a month.
Buying Tip: The strap attachment points, the areas around the zipper, and the handle base—these three spots must be double-stitched or overlocked. If they’re single-stitched, skip it.
Hardware Materials: Cheap Iron Buckles, Quality Alloy Buckles, and Nylon Buckles
Hardware is the “joints” of a carrier. After my rust buckle experience, I became particularly sensitive to hardware quality.
Cheap Iron Buckles (Standard on Cheap Carriers)
This is what the hardware on my rust carrier was made of. The surface was plated with a shiny silver finish that looked like stainless steel, but it was actually iron. A magnet stuck right to it. The problem with this type of buckle isn’t just rust—the rust makes the surface rough and sharp, and the mechanism can seize up completely. After the clinic incident, I pried the buckle open with a screwdriver and found the spring inside had rusted into a lump of debris.
Quality Alloy Buckles (Common on Mid-to-High-End Carriers)
I later bought a carrier with zinc alloy buckles. After over six months of use, they still looked bright. These buckles have an electroplated finish that resists rust, and they operate smoothly. The downside is that if the plating wears off, oxidation can still occur over time, but it’s still far better than iron.
Nylon Buckles (Most Recommended)
My current go-to carrier uses nylon buckles made of high-strength plastic. After nearly two years of use, they’re completely unaffected by water. I’ve taken them out in the rain without issue. They operate smoothly and can be used one-handed. Most importantly, they’re lightweight—compared to iron buckles, they can save an ounce or two. The only downside might be that they don’t look as “premium” as metal, but their practicality is far superior.
Buying Tip: Prioritize nylon or plastic buckles. For zippers, choose zinc alloy pulls with nylon teeth (they won’t catch fur). Avoid iron hardware, especially plated iron buckles—rust is just a matter of time. Now when I buy a carrier, I always keep a small magnet in my pocket. If it sticks, I pass.
Strap Attachment Points: The Most Overlooked Load-Bearing Area
The strap attachment point is the most critical load-bearing part of a carrier. My broken strap carrier failed right there. After that incident, I carefully studied the attachment designs on different carriers.
Check the Stitching: Is There an “X” Shape Reinforcement?
The direction of the stitching at the strap attachment determines how much weight it can handle.
- Single straight stitch: Weakest. My broken carrier had this—just a single line of straight stitching that snapped under tension.
- Double straight stitch: Moderate. Better than single stitch, but can still fail over time. A friend’s carrier with double stitching started loosening at the attachment after two years.
- X-shaped cross stitch: Strongest. My current carrier uses this. The stitching forms an X, distributing tension in four directions. After nearly two years, it hasn’t budged.
Check the Attachment Method: Comparison of Three Types
Beyond the stitching, the attachment method itself is crucial. I compared several:
- Metal Hook: Strongest. Common on high-end carriers with removable straps. The hook itself is sturdy, and the attachment point is reinforced with double stitching or X-stitching. My current carrier uses this.
- Sewn-In (Directly Attached): Moderate. Common on mid-to-low-end carriers. Load capacity depends entirely on stitching quality. My broken carrier was sewn-in—the stitching failed and it snapped.
- Plastic Clip: Weakest. I’ve seen these on a friend’s cheap carrier. Plastic clips can become brittle and crack with age, snapping under tension.
Buying Tip: Strap attachment points must have double stitching or better, ideally with X-shaped reinforcement. For removable straps, choose metal hooks with double-stitched attachment points. The first thing I do with any new carrier is give the strap attachment a firm tug—if it feels loose, I pass.
Receiving Inspection Checklist: 6 Steps to Weed Out Cheap Carriers
After all these lessons, I’ve developed a receiving inspection routine. Every time I get a new carrier, I spend 5 minutes running through these 6 steps. It filters out 90% of cheap carriers.
√ Step 1: Smell It
Take a sniff right after unboxing. If there’s a strong plastic or chemical glue smell, return it immediately. This rule came from my earlier articles on materials and odor removal—I learned its importance the hard way.
√ Step 2: Check the Lining
Flip the lining inside out and inspect all seams. If there are more than three loose threads longer than 3cm, quality control is poor—pass. If seams show raw edges without binding, durability is poor—pass. After my loose thread carrier experience, I’m especially sensitive about lining quality.
√ Step 3: Test Zipper Smoothness
Run the zipper back and forth three times. If it sticks, catches fabric, or derails, the zipper quality is poor—pass. If the zipper pull is iron (test with a magnet), it’s prone to rust—proceed with caution.
√ Step 4: Press the Base
Press down on the bottom of the carrier with your hand. If it feels supportive and won’t depress easily, it has a rigid base—okay. If it collapses under pressure and feels flimsy, it has no rigid base—pass. This rule comes from my article on rigid bases—a solid base is fundamental to a pet’s sense of security.
√ Step 5: Pull the Strap Attachment
Give the strap attachment point a firm tug. If it doesn’t budge and the stitching doesn’t deform, load capacity is okay. If there’s noticeable looseness or the stitching gapes, load capacity is poor—pass. After my broken strap carrier, I never skip this step.
√ Step 6: Inspect the Hardware
Check all buckles, clasps, and zipper pulls. If surfaces are smooth with no burrs, okay. If there’s rust, scratches, or burrs, quality is poor—pass. Use a magnet—if it sticks (iron hardware), it’s prone to rust—proceed with caution.
Frequently Asked Questions
Q: Do loose threads definitely mean poor quality?
A: Yes. My loose thread carrier is the perfect example. I thought trimming the threads would solve it, but a month later the seams unraveled completely. Loose threads are a direct indicator of poor quality control. A factory that doesn’t bother trimming surface threads likely cuts corners on internal workmanship as well.
Q: Should iron hardware be avoided entirely?
A: Not necessarily entirely, but it’s high-risk. My rust carrier had iron buckles that failed within a week. Pet carriers are frequently exposed to moisture (rain, accidents), so rust is almost inevitable. I now only buy nylon or zinc alloy hardware.
Q: Can I repair a torn strap attachment myself?
A: You can try reinforcing it. After my broken strap incident, I used heavy-duty thread and a thick needle to add an X-stitch over the original attachment. But later I realized a problem: if the carrier fabric itself is very thin (common with cheap carriers), the fabric may tear under tension even if the stitching holds. In that case, it’s better to replace the carrier.
Q: Can I see the difference between good and bad stitching with the naked eye?
A: Yes. My loose thread carrier had uneven stitching with inconsistent spacing. The good carriers I later bought had uniform stitching, consistent spacing, and clean edges. The easiest place to see the difference is to flip the carrier inside out and look at the seams. Now, the first thing I do with any new carrier is check the lining.
Conclusion: Cheap Is the Most Expensive Tuition
Those three carriers in the corner of my balcony cost less than a hundred dollars combined. But the “tuition” I paid was far more than that. The loose thread carrier embarrassed me at the airport when the zipper wouldn’t close, almost making me miss my train. The rust buckle carrier humiliated me at the vet clinic, making me want to disappear when I had to borrow someone’s key to pry it open. The broken strap carrier left me with a lingering fear, making me realize that the money saved on cheap carriers will eventually be paid back in another form.
Later, I did the math:
- A $40–50 quality carrier lasts 3 years: about $15–17 per year.
- A $10–12 cheap carrier fails in 3 months; replacing it 4 times a year costs $40–48 per year.
Cheap isn’t saving money—it’s installment payments.
Now when I choose a carrier, I don’t look at the price first. I look at the workmanship. Flip the lining, test the zipper, inspect the stitching, feel the hardware—these few minutes of checking save months of trouble down the line. Those three carriers still sit in the corner of my balcony. Every time I pass them, I remind myself: don’t let the word “cheap” fool you again.
You’re not buying a bag. You’re buying the only vehicle your pet has on the road. Every stitch, every buckle, every detail of that vehicle is about safety and trust.
Don’t let “feels cheap” be the start of your next pitfall.
What’s the worst pet carrier you’ve ever bought? Share your “stupidity tax” story in the comments.
Leave a Reply
You must be logged in to post a comment.